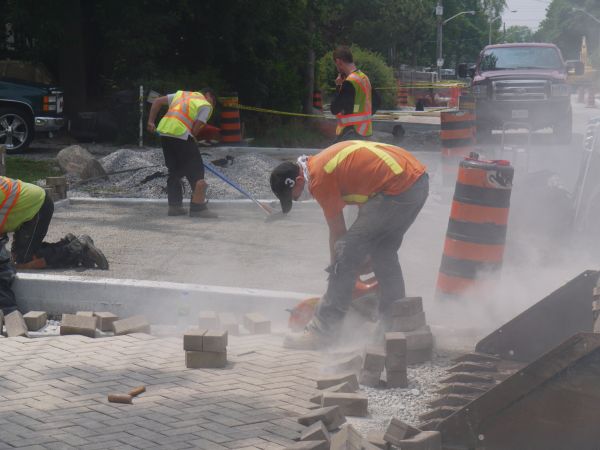
Paver installation
Revision as of 17:52, 30 September 2022 by JamesCowan (talk | contribs)
Permeable pavers have the highest load tolerance of the permeable pavement variations. It is especially important that the permeable pavers be installed correctly on the bedding material. See Permeable pavements: Specifications for more information.
Construction Steps:
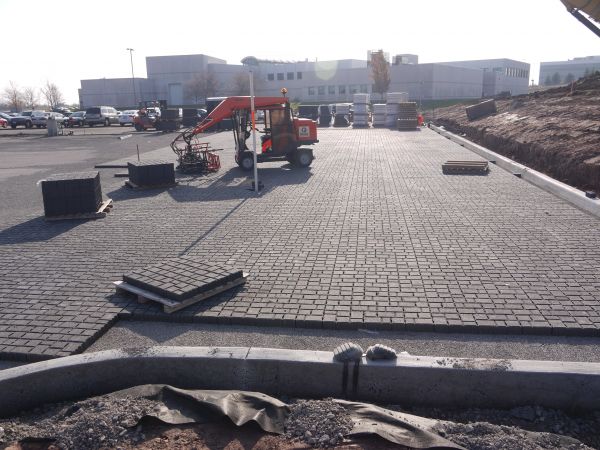
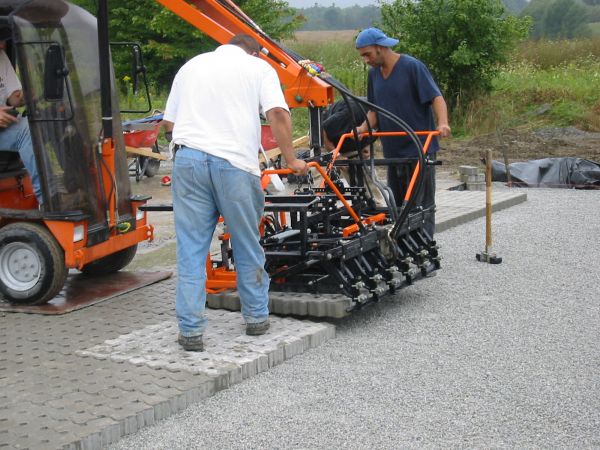
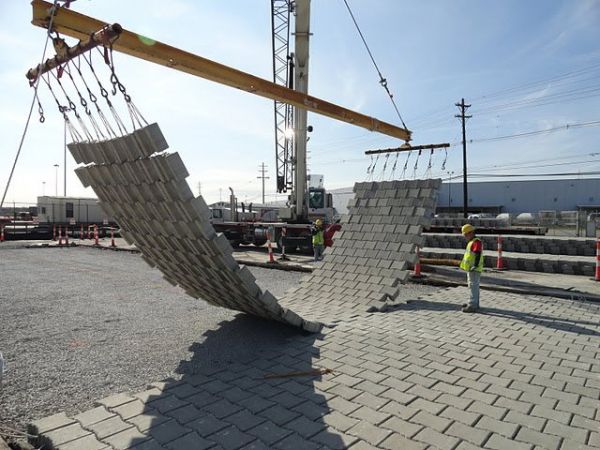
- Lay permeable pavers by hand or install whole pallets of pavers at a time with specialized equipment.
- Cut pavers to fit into the edges of the infiltration area.
- Fill voids between pavers with joint aggregate.
- Sweep excess joint aggregate from pavement surface.
- Compact completed surfaces with a plate vibrator at the end of each day or when all pavers are placed. The plate vibrator can be applied up to 1.8 m from the laying face (incomplete edge).
Key Inspection Points:
- Cracked/broken pavers are discarded and replaced with intact pavers prior to filling void spaces.
- Sizes of pavers and joint width conform to applicable municipal standards.
- Pavers conform to the specifications of the design.
- Minimum setback of 1.8 m from the laying face is considered when compacting at the end of each workday.
- Cut pavers are installed to edges of the practice before compaction of completed sections takes place.
- Pavers are elevated within 3 mm to 10 mm above adjacent inlets or channels.
- Paver pattern and joint widths conform to the directions of the manufacturer.
- Permeable pavers are compacted at least twice with a plate compactor.
Mistakes to Avoid:
- Leaving pavers uncompacted – finished surfaces must be compacted at the end of each workday.
- Cutting blocks in infiltration area – edge pavers should be cut with a wet saw in a designated area away from the infiltration area to avoid clogging with fines and dust.
