Construction: curbing
Revision as of 19:35, 17 August 2022 by SamanthaPelayo (talk | contribs)
"'INSERT VIDEO FROM HAGGERT AVE: \\Hqcvcfs01\cvc2\Watershed Management\Integrated Water Management Implementation\Fletchers Creek SNAP\Haggert Ave Road Retrofit\3 - Photos\Construction Photos\Site Visit_20201120\Riverstone Construction Haggert Ave Inlet_F.mp4
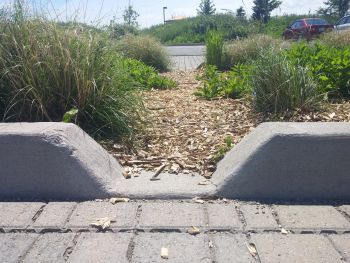
It is very important to make sure that the contractor responsible for curb construction understands curb cut designs and elevations. This is often a new technique for contractors, and they may not understand the overall concept of water in the gutter line being directed behind the gutter.
Construction Steps:
- Place the right forms (rolled curve vs standard) in the inlet location.
- Pour concrete.
- Shape the inlet
- Add the river stone on top of the fresh concrete (if applicable)
- Provide sufficient curing time, according to CSA standard A23.1-09.
Key Inspection Points:
- Use of proper curb form by sub-contractor.
- Curb type aligns with design.
- Curb cut location, type and dimension aligns with design.
- Designated concrete wash out is in place and away from LID facility.
Mistakes to Avoid:
- Elevated curb cuts and reverse slopes (sloping from back of curb towards instead of depressing from gutter line towards the back).
- Wrong curb cut width size.
- Use of wrong curb form.
- Concrete wash out within or upstream of LID facility.
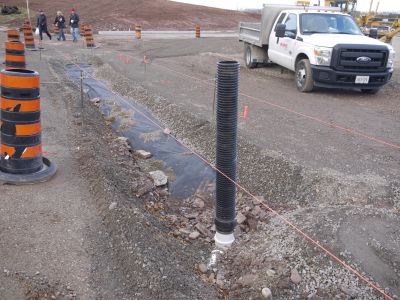
- Ensure curb granular base (granular A) does not spill over into LID infiltration area. If material spills over, remove as best as possible while still maintaining the 2:1 slope for curbing
- Lack of communication to concrete contractor or ready-mix driver explaining the function and importance of protecting the LID feature.
For more information on curb cuts, see these pages: Curb cuts, Curb cuts: Gallery and Bioretention: Streetscapes

